
I gained a 1st class Honours degree from the University of Brighton and 6 years later an MA from UAL both in Fine Art Printmaking. My MA final show was ambitious, a 3 metre woodblock and stop frame animation installation spanning 2 walls.


I was awarded a residency in Portugal at Bartolomeu Dos Santos studio in Tavira, Dos Santos had taught Paula Rego to aquatint. In his studio, I lived and worked for 10 days. Inspired by Dos Santos etched murals in Lisbon, I wanted to make my work on an even bigger scale, this is when the idea for wallpaper was born.
STAGES OF A REDUCTION WOODBLOCK
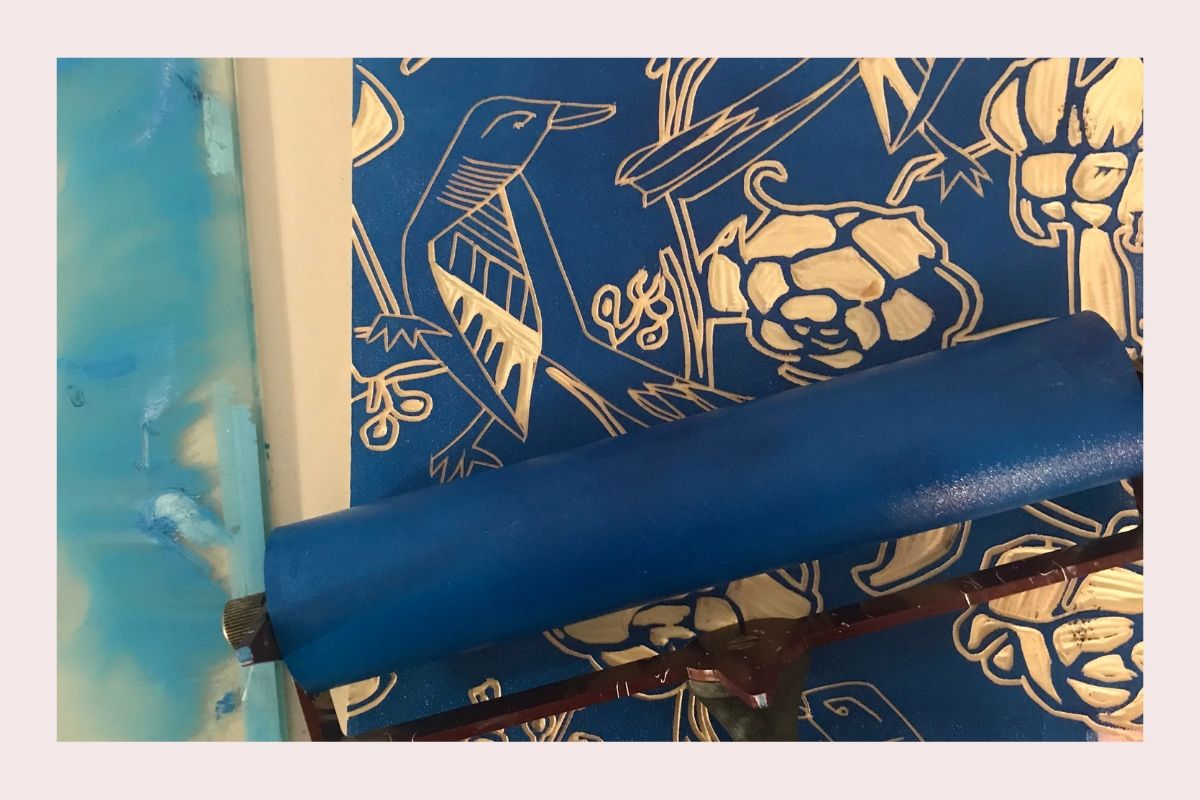
1. Drawing is at the forefront of my practice and all designs are sketched before being hand drawn onto the wood. You must draw the design backwards because the image is printed in reverse.

Traditional woodcuts are printed from separate blocks, one created for each colour. I work with reduction woodcut and all colours are all printed from one block. Each colour in succession, as the original surface of the block, is cut away and reduced.
Skip to stage 4 if you want the paper to be the first layer of your print.
2. Pick a background colour. I use water-based inks as I work in my home studio and is non-toxic, but oil based is fantastic too.

3. Print a solid block of colour for the background. Print enough for the edition because you can't print anymore once you start carving.
This is the beautiful press I work on.

4. Carve out the 1st layer of wood. That is everything you want to be the colour of the background layer (or paper)

5. Pick the colour for the next layer (often start with the lightest colour and work towards the darkest.
6. Ink up the plate and print directly onto the paper or the background layer.


7. Clean the wood and carve more of the same block away. Carve out everything you wish to stay the colour of the previous layer.
8. If you make a mistake, think of a workaround or start over. I always try to work around it! This is where the element of chance enters my work.

9. PRINT, CARVE, REPEAT! Until you have the desired print. The magic of printmaking is you only know how a print will look until the very last layer is printed.

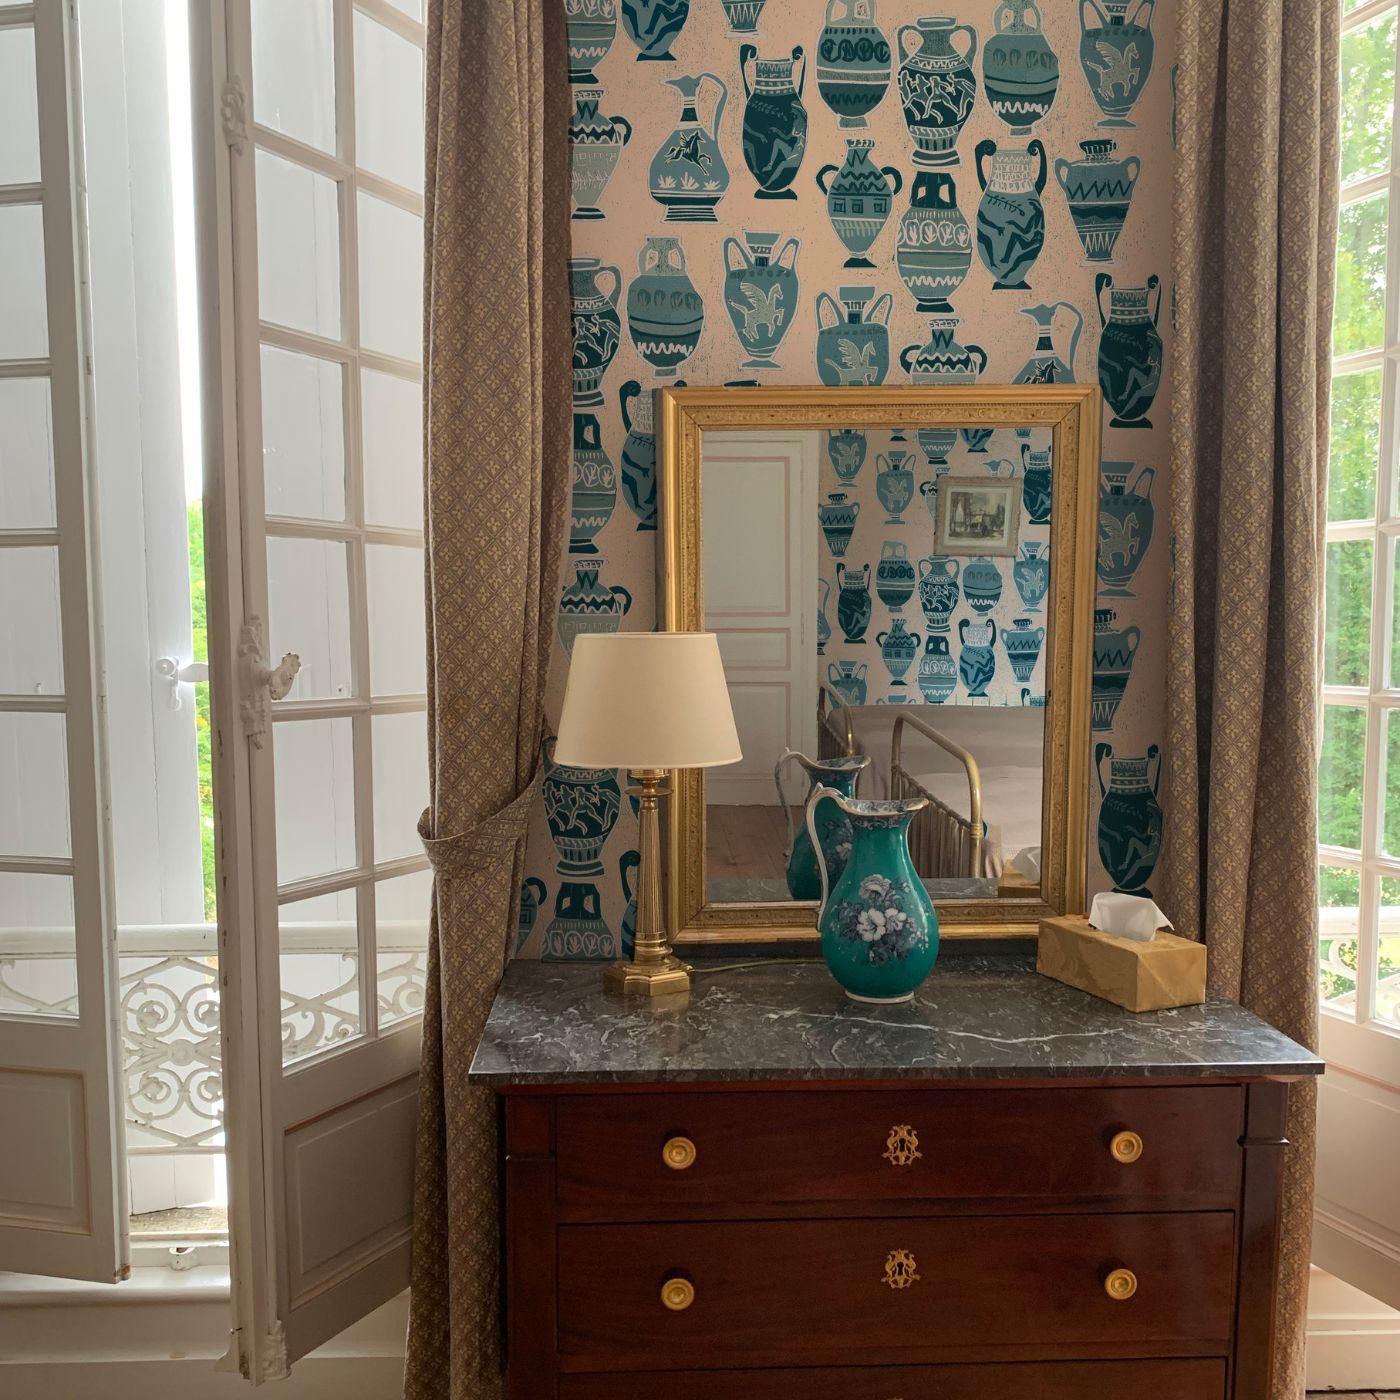
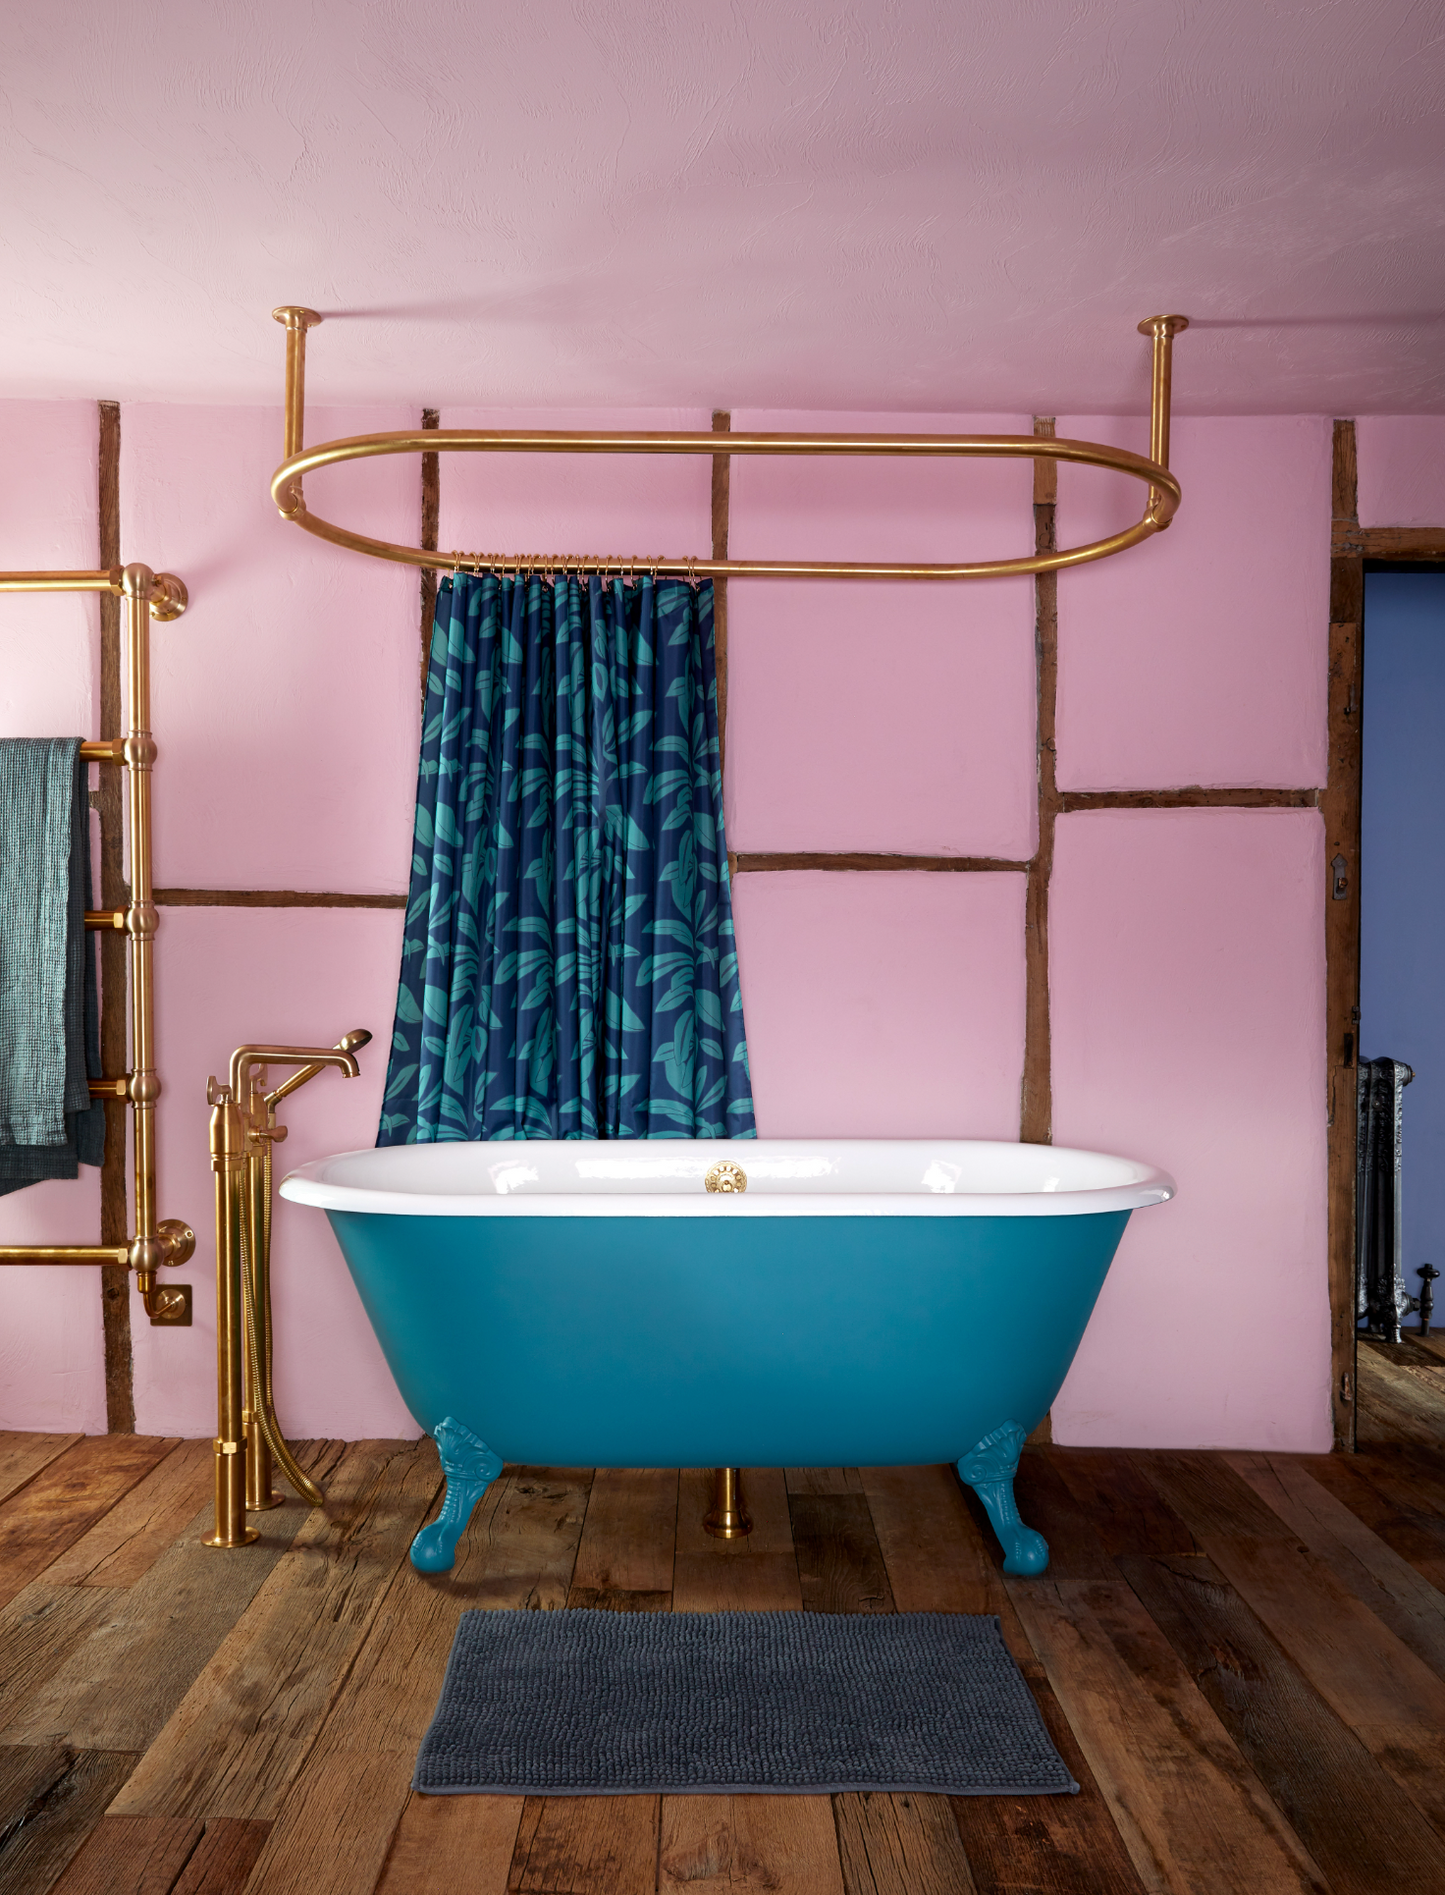
 10. I digitally print my woodblock designs as wallpaper and fabric.

Climbing Vine is available as wallpaper and a velvet cushion.
Sign up to my newsletter to find out more about how I make my work.
Let's get social, follow me on Instagram Facebook Pinterest