Here are my top 10 tips when hanging wallpaper.
All you need is wallpaper to inject some colour, pattern and life onto your walls.
View all Annika Reed Studio Wallpapers.
To find out more top tips please follow us on Instagram
Hanging wallpaper has got easier!
1. Measure twice, cut once!
When measuring anything, I always go by the logic 'measure twice, cut once'
To start, I like to draw out a plan on paper to include each wall measurement. First, measure the width of the room and divide by 52cm (the width of Annika Reed Studio Wallpapers). This will give you the number of drops you need. Next measure the height of the room, excluding skirting boards and add 15cm to allow for trimming.
Multiply the height by the number of drops and you will get the total number of metres of wallpaper needed.
A standard Annika Reed Studio roll is 10m x 52cm.
2. Save grey hair and time
Paste-the-paper is actually a euphemism for “RUN FROM THIS OPTION LIKE THE DEVIL IS CHASING YOU WITH A FLAMING PITCHFORK STRAIGHT FROM THE FIRES OF HELL.” Wallpaper companies don’t tell you this as it isn’t good PR.
Paste the wall is the only type of wallpaper we stock at Annika Reed Studio.
3. Order all at once
Order the wallpaper for each room at the same time. This is to ensure the wallpaper is of the same batch number. Sometimes different batches can differ in colour. All Annika Reed Studio wallpaper is made to order to avoid this.
4. Set the stage
Ensure the walls are clean, dry and even before you start wallpapering.
Newly plastered walls - paint a primer on first to stop shrinkage.
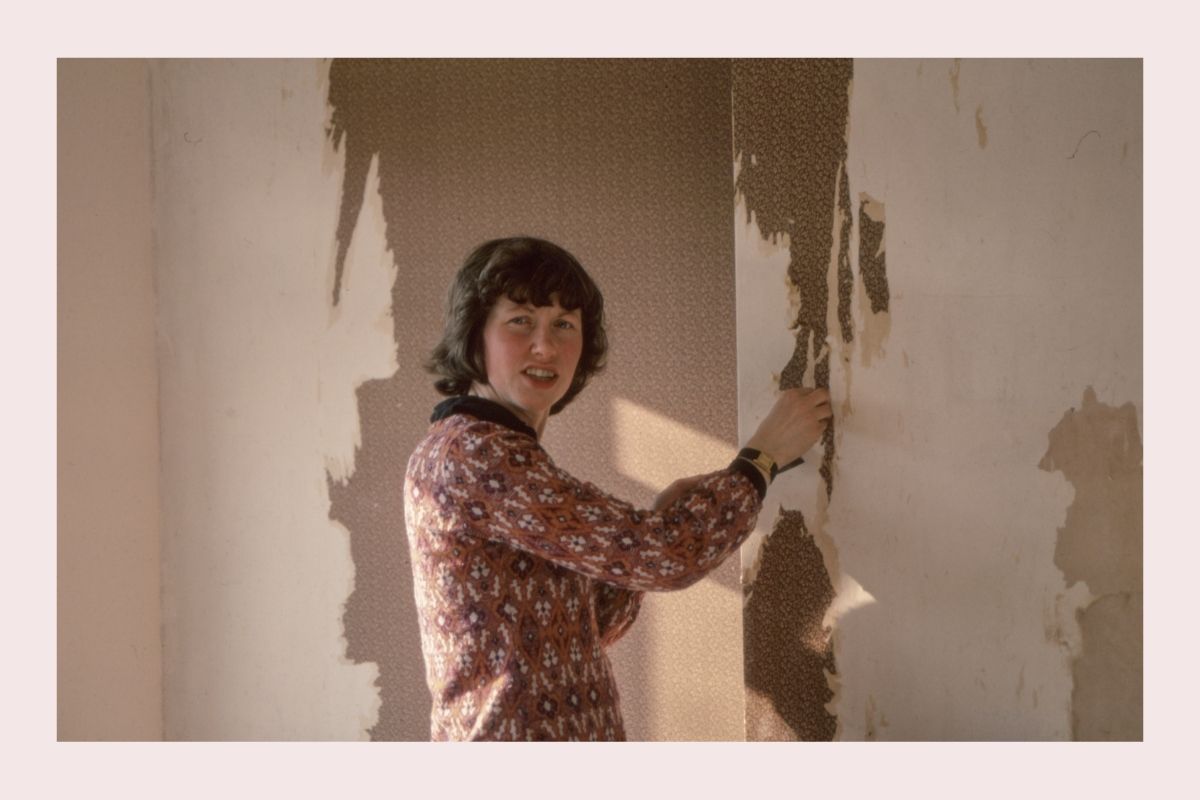
Old wallpaper - scrap away first and fill any holes and sand smooth.
Old walls - hang a lining paper first. Using a lining paper is good practice for hanging paper if you are a beginner.
5. Plumb Bob (square pants)
House walls are not usually perfect right angles. As tempting as it is to line up the first strip of wallpaper with the corner of the wall, please don't! To ensure the wallpaper is straight, you will need to make a plumb line from which you measure the alignment of the paper. Use a plumb bob or a carpenter's level.
6. Stop sticky little fingers!
To add protection to your wallpaper apply a coat of Polyvine Decorator’s Varnish in ‘Dead Flat’. This is a good idea in a bathroom, kitchen or place that gets busy. Especially against sticky little fingers.
Please read the instructions and test a bit on a sample first.
7. Lights, Camera, Action
Hanging wallpaper around switches and sockets.
Turn off the main switch at the consumer unit and remove appropriate circuit fuse. Ensure the power is dead before unscrewing and removing the outer casing.
Hang the strip of wallpaper as you would from the top.
When you reach the socket make four diagonal cuts in the paper from the centre of the power socket to each of the corners leaving about an 8mm gap from the edge of the socket. Cut away the excess triangle of paper. Smooth the wallpaper down and ensure no paste has dripped behind the electrical connection. Reattach the front cover of the socket. Ensure paste has dried before replacing the fuse.
8. Double-Check
Double or even triple-check newly hung strips for bubbles and seam matches. Bubbles need to be smoothed out as early as possible, and seams should be adjusted before the paste has set.
9. Baby Wipes! (biodegradable)
Not the most technical but a parent's and a DIYers best friend!
As clean as you can be the paste may get to places you did not intend it to go. Always have some biodegradable baby wipes to hand, they are great. Any parent will know!
10. If in doubt call in the professionals!
I recommend the gentlemen of wallpaper hanging Absolute Wallpaper Specialists.
To find out more top tips please follow us on Instagram
Want to know the steps to hanging wallpaper then click here.


